Applying Tax Exemption to Tax-Inclusive Products (Canadian Merchants Only)
- 2 Minutes to read
- DarkLight
- PDF
Applying Tax Exemption to Tax-Inclusive Products (Canadian Merchants Only)
- 2 Minutes to read
- DarkLight
- PDF
Article summary
Did you find this summary helpful?
Thank you for your feedback!
This is to clarify how zero-rated products should be displayed on receipts during a tax holiday, and the best way to handle this in ACE with tax-inclusive products.
Receipt Requirements for Zero-Rated Products
During a tax holiday, it is important to note that with zero-rated products, which are taxed at 0%, the standard practice is to simply apply no tax rate during a transaction. So, where you would normally see the tax symbol (e.g. GT) next to the product in the receipt if tax is included, the absence of the tax symbol represents tax exempt products.
Why You Should Not Show "Not Collected" Tax Portions
It is important to understand that a tax exemption is not equivalent to a discount. Whether products are tax inclusive or tax exclusive, the product price should not change or there is potential for sales reporting to be incorrect.
Receipts should not display any "not collected" tax portion. The Canada Revenue Agency (CRA) guidelines specify that only taxes payable should be shown on receipts. For zero-rated items, since the applicable tax rate is 0%, no tax amount should be displayed as collected or not collected.
Updating Sell Prices
As your products are tax inclusive, the cleanest and easiest way to handle the tax holiday would be to change, for example, your GST rate to 0%, and then bulk edit the sell price of your now exempt products to reduce them by 5% in ACE. With this change, because your tax rate is now set to 0%, your sales revenue reported does not change from before zero-rating the products, but customers are paying 5% less to reflect the 5% GST no longer collected.
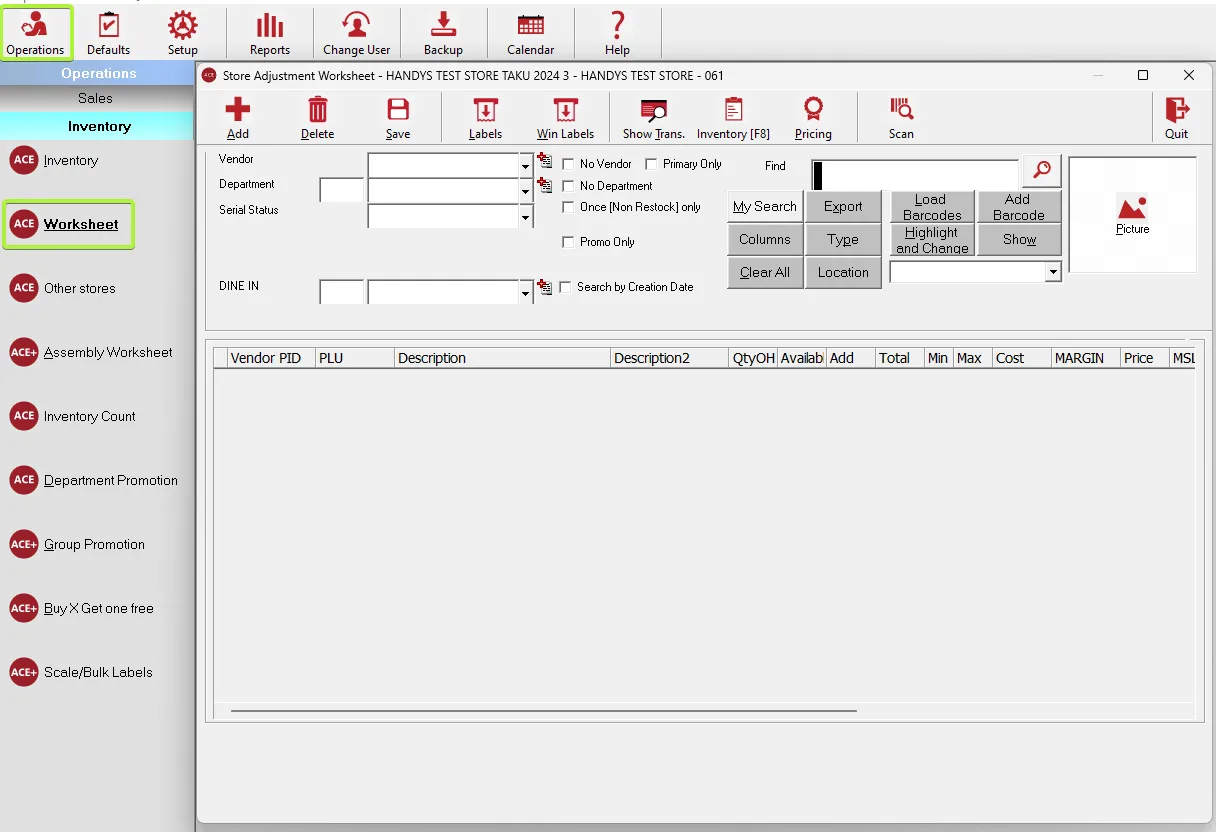
- Go to Operations > Inventory > Worksheet
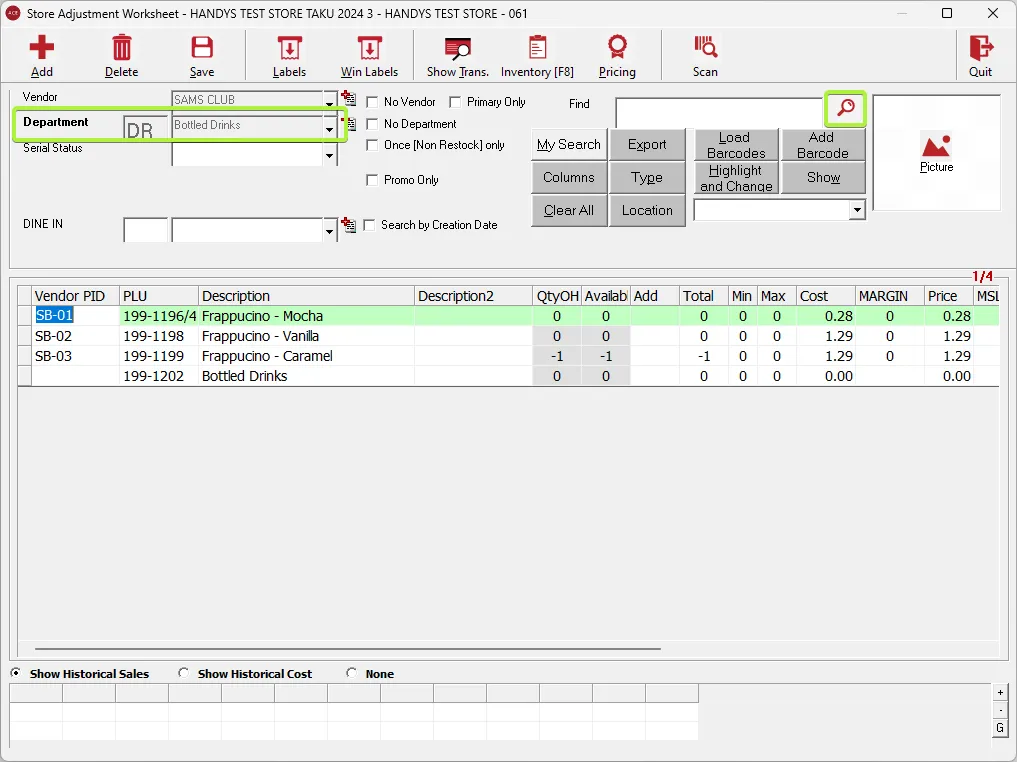
- For simplicity you can first specify the department and press the magnifying glass to load all items in this department.
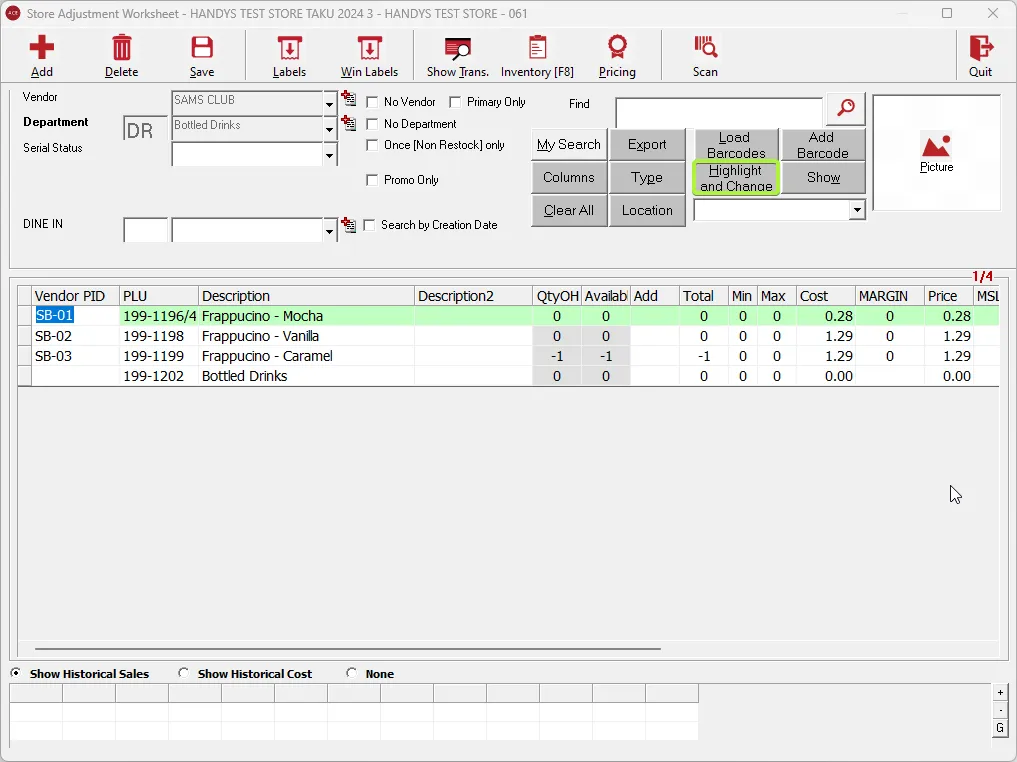
- Highlight the items which will have the pricing updated, you can highlight multiple products at once by using “Shift” + Left Click to select a range of products, or using “Control” + Left Click to highlight different products at the same time
- Go to “Highlight and Change”
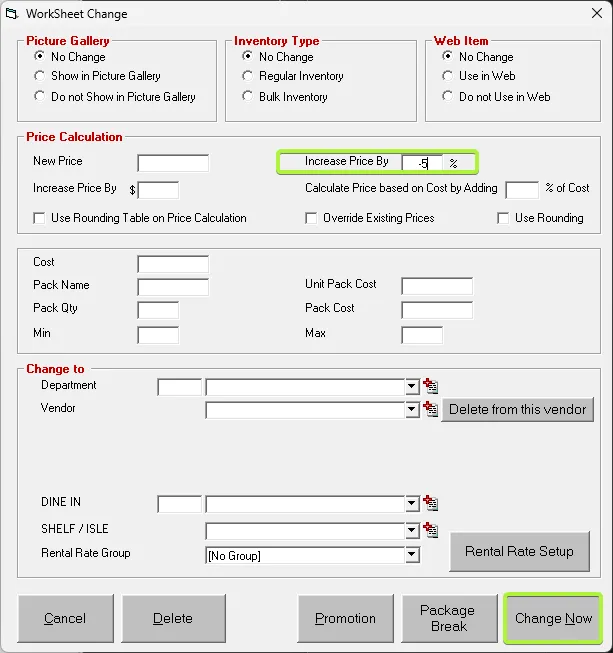
- To decrease pricing by, for example, 5%, enter “-5%” into the “Increase Price by %” field
- Press “Change Now”


Creating Tax Exemptions by Departments
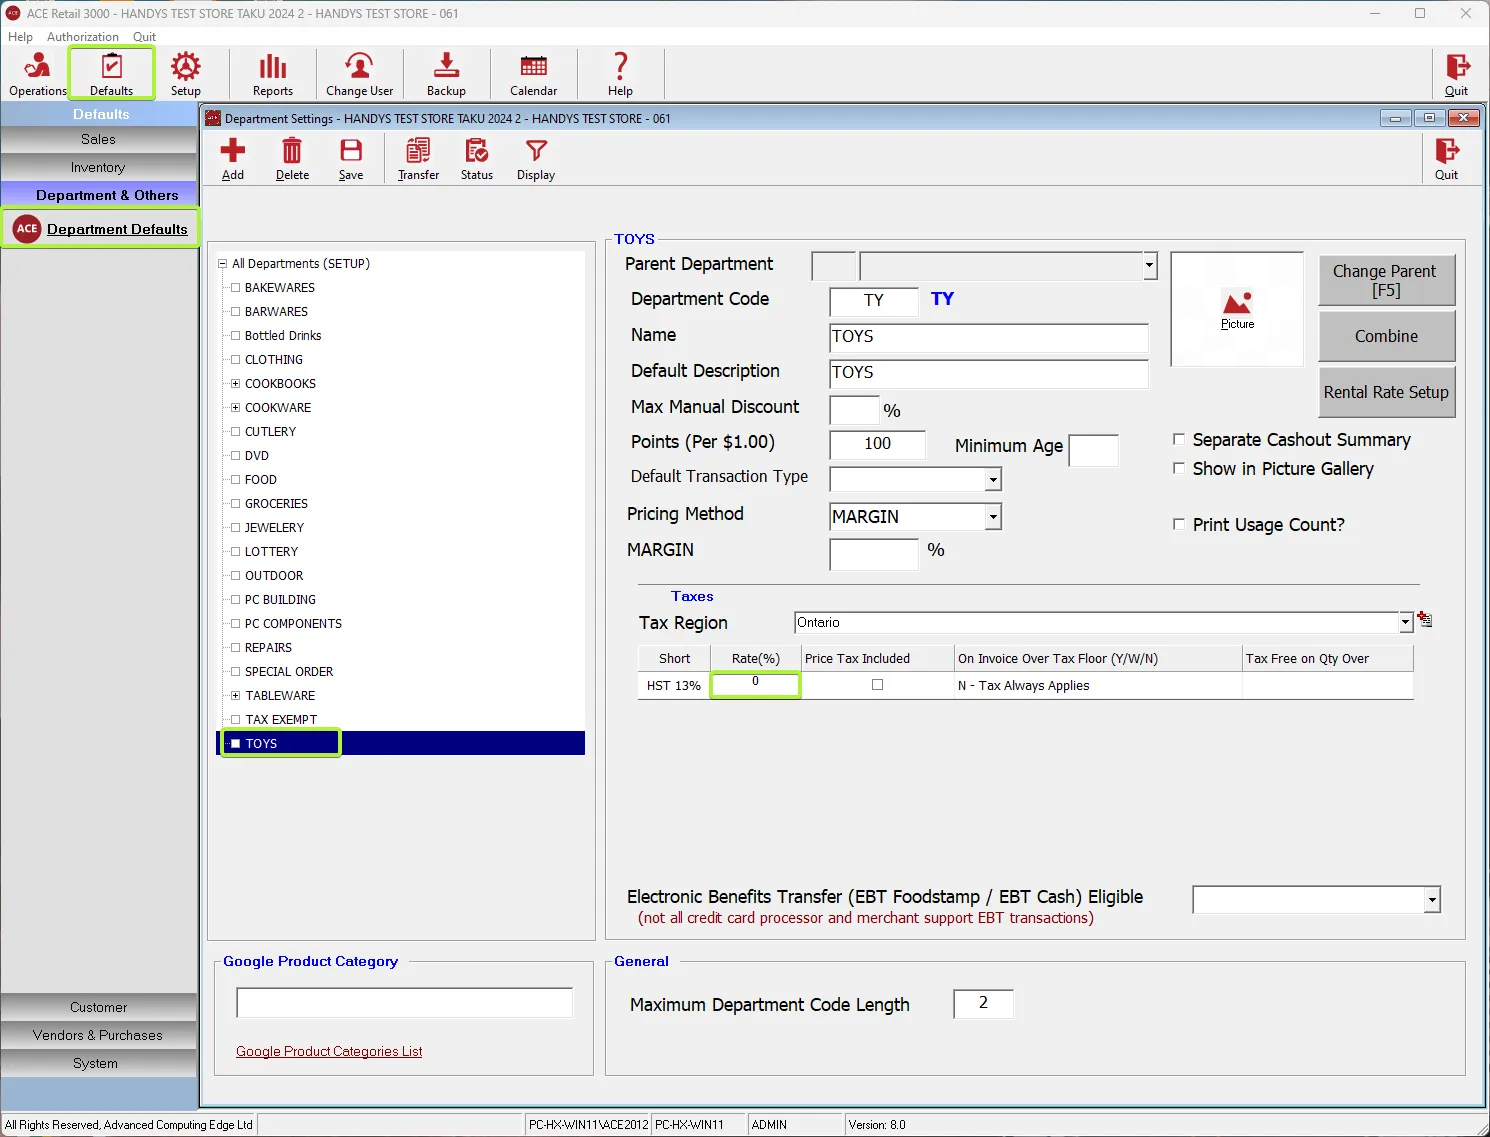
- Go to Defaults > Departments & Others > Department Defaults
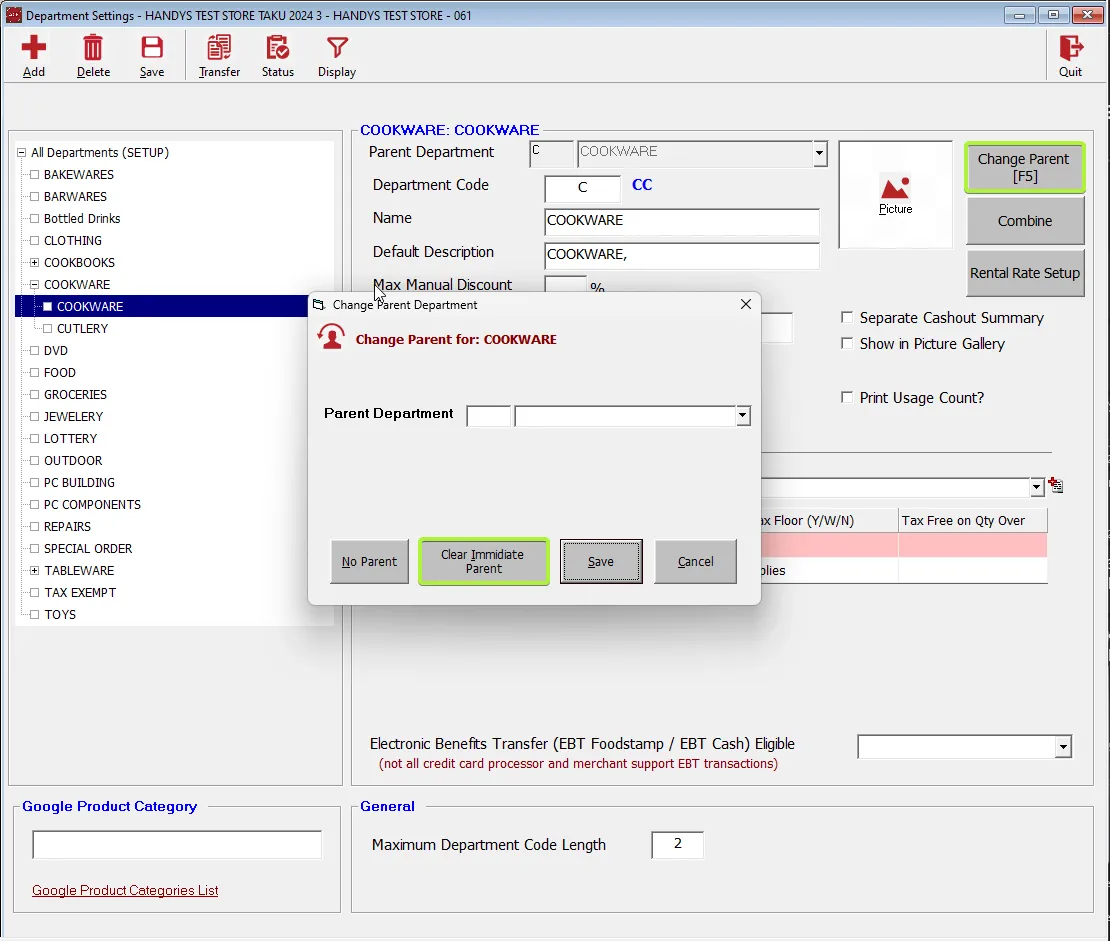
- Highlight the department (or subdepartment) that you want to change the tax rate on, if it is a sub department you will need to make it a main department first by pressing “Change Parent” and then “Clear Immediate Parent”
- Double click on the “Rate (%)“ field and type in the new tax rate.


NOTE: This change is immediate and will only apply to the items in the highlighted department. If you have multiple applicable departments you will need to repeat these steps for each one. Once the tax relief period is over you will need to revert back to regular tax rates using the same method.
Was this article helpful?